
How to self-host WriteFreely on a Synology
Best for text only blogs, very quick response times.


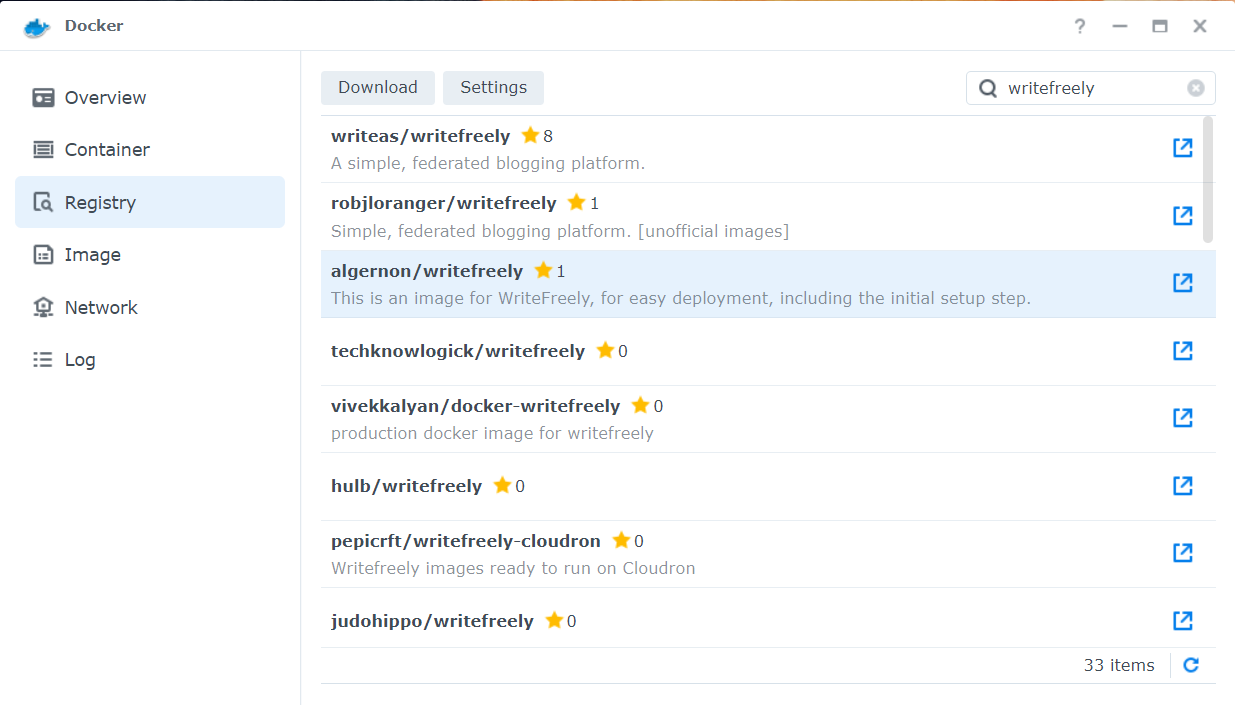
While most guides focuses on installing WriteFreely on Ubuntu or Docker (docker-compose), I could not find one that simply uses Synology with Docker.
And here’s how you do it:
- Install Docker for your Synology.
- Search and download algernon/writefreely.
- Create a container with that image:
- Select
bridgenetwork - Enable auto restart
- Set your desired port, leaving the container port as
8080 - Create a folder on your NAS and attach the folder here pointing to
/data - Declare these two variables:
WRITEFREELY_ADMIN_USERNAMEandWRITEFREELY_ADMIN_PASSWORD - Start container
- Select
- Buy me a drink on ko-fi :)
Now you can access WriteFreely from your browser pointing to your NAS IP Address and the port that you’ve indicated.